Amanda
Posted by
Unknown
at
5:31 PM
1 comments
Labels: portraits
Here's an example of a man made subject. Some how it just ends up feeling blurry, rather than interesting in the way that natural subjects turn out. Not sure what the distinction is - maybe that I know the table is solid, metal and not soft and mutable. Any ideas ?
Posted by
Unknown
at
6:39 PM
2
comments
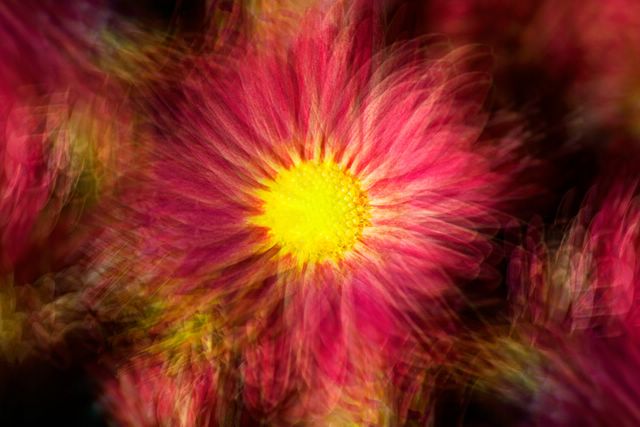
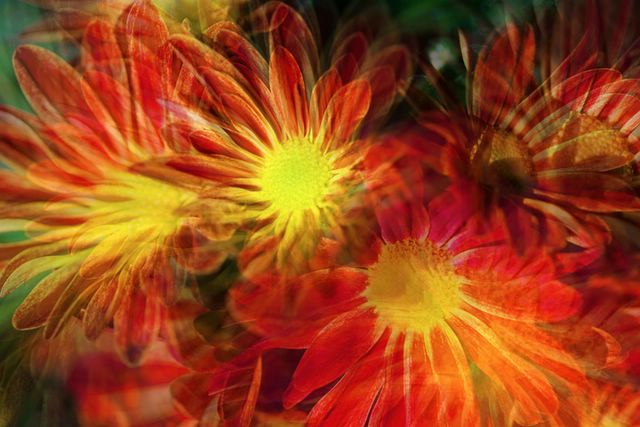
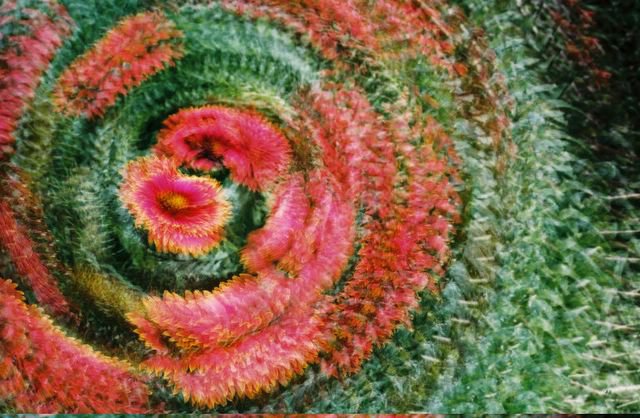
Chrysanthemums
Changing the registration along the petals of the flower. Shot centered on the flower, then moved out to the 8 points of the compass for the other shots.
This time I zoomed in towards one of flowers (the middle one) keeping it roughly the same place in each frame.
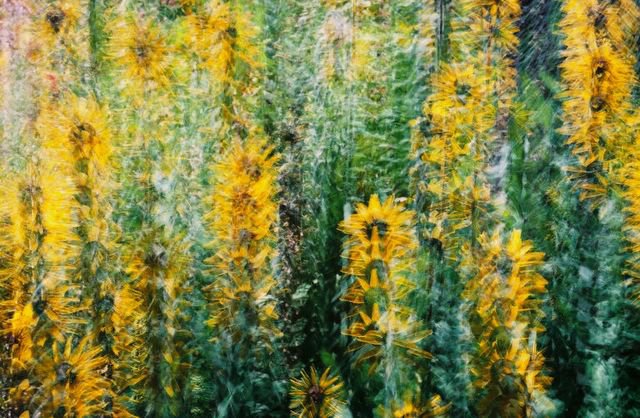
Plantpot
Shot handheld, while spinning the pinwheel in the wind.
Tried using the actions to build several multiple image shots. Found that the layering is a good starting point and that the action really speeds things along. Think I want to change it to work straight out of bridge though. Also thinking I might add options for different blending modes in to the starting set.
I notice that this seems to work really well on natural subjects (flowers etc). I'm not yet seeing good results with man-made objects. I think I need to try this on larger scenes though and see how it works in that context - maybe look at some more classic intimate landscape subjects and apply the techniques to those - though I'm already feeling that those are well covered impressionistic painting subjects - bridges, lily ponds and the like.
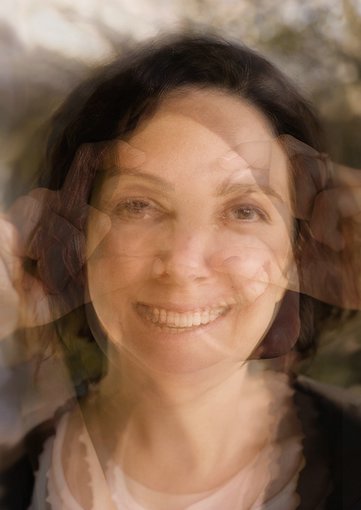
I wonder how this treatment would be on a portrait subject. Maybe that's my next direction - a series of headshots of a person expressing different emotions, all blended together. hmm...
Posted by
Unknown
at
6:22 PM
3
comments
Noticed very quickly that there's a lot of repetitious work layering images and setting the opacity. In the spirit of laziness I've written a CS2 JavaScript that does this automatically. //-------------------- // Combine Documents to new layers // (c) 2005 Gordon McGregor // ps2script.20.gordonm@xoxy.net var numDocs = documents.length for (i = 1; i < numDocs ; i++) { // stack layers on doc o activeDocument = documents[i] activeDocument.artLayers["Background"].copy() activeDocument = documents[0] layerRef = documents[0].artLayers.add() documents[0].paste() layerRef.opacity = 100/(i+1) } for (i = numDocs-1; i >0 ; i--) { documents[i].close(SaveOptions.DONOTSAVECHANGES) } //---------------- If you want to use it, copy the text above and save it as Combine Docs to Layers.jsx in your Photoshop CS2/Presets/Scripts directory You can then run it from the File-Scripts menu (the first time you install it, if you already had photoshop running, you'll need to browse. If you start Photoshop after installing the script, it should appear on the script menu already. To use it, open all the documents you want to merge. Run the script. It'll use the first document open as the base layer, and then add the rest of the images on top of that layer. The layers decrease in opacity towards the highest layer. After building the document, all the other images will be closed.
Posted by
Unknown
at
10:53 PM
1 comments
There is an interesting multiple exposure project that I've now heard about a couple of times. It goes something like this: a photographer shoots a roll of film, all under exposed by one stop. Subject matter can be anything the photographer likes. They then rewind that roll and pass it to a fellow photographer, who again shoots the entire roll, using random subjects underexposed by 1 stop. The end result is a series of 2 image multiple exposures, combining potentially disconnected subjects. There was an exhibition in the Guggenheim in New York where the two photographers had deliberately focused on cliche subjects. One had shot exclusively flowers in a standard snapshot fashion and the second had shot postcard sunsets. The heart of this lies in the serendipity and randomness of the images that get combined. I wonder if this could be done digitally, or would the opportunity to creatively direct the combinations sneak in to the process ? I can see shooting 30 images, and passing them on to a friend - but would I not want to edit those images, shoot 60 and pick the 'best' ones ? Then again, when it came to combine the frames, rather than using the random initial sequence, might we not want to pick and choose, reorder and combine the best, or most meaningful, or most ironic or best colour combinations of images? Now ask yourself, would it be better or worse to do this? On one side, you would probably miss out on the happy accidents, the magic of it all falling in to place mostly by accident. On the other side, you'd loose the frustration of near misses, or instances where this subject would be fantastic on this other frame. The pain and frustration of the what ifs would be gone but so would the magic of the real hits. Sure, we could just do both, after all, it's digital you can just rip it up and retry - but where does the real magic and fun lie ? Anyone want to try it out ?
Posted by
Unknown
at
9:41 AM
8
comments
In the past when I've been shooting panoramas I've tended to take photographs of my hand to record messages for later on. This form of very pidgin sign-language (end of sequence, cut here) served as a reasonable means to mark the start and end of sequences. I've started using similar queues for multi-shot images that I plan to turn into single final exposures. Then I had an epiphany of sorts. This was a stupid waste of space, to capture an 11Mb index point for each sequence. Particularly when my camera supports voice annotation! Now I use the voice annotation to record a quick comment or three on the last image of any given sequence. I can even record some thoughts about what emotions or motivations I have for the image, that may or may not change when I come to edit it. These annotations appear alongside the images as a .wav sound file that can be played back. I've since used this to capture some of the environment, such as music when I was shooting in a bar - this helps recreate the mood and revisit the emotional response when I come to finish the image at a later date. I've thought about trying to extend this in to a multimedia portrait project, shooting people then asking them to record a few bits of basic information, in their own voice. This way their name and location can be captured, or even snippits of their story. I think the combination has a lot of potential.
Posted by
Unknown
at
2:53 PM
2
comments
One of the motivations of this blog is to start experimenting with the creative ideas contained within the series of books by Freeman Patterson. However, I really see those books as a jumping off point, and not a strict set of guidelines to be followed, or recipe to be repeated. One of the most immediate differences is that the books deal with the concepts as relating to film, yet I'm almost exclusively using digital. This acts as a motivation to just use the books for inspiration, straight away - which I think is a great advantage. The key is to follow the patterns laid out in the books and use those as a guide towards interesting ways of expressing ideas and emotions in my images. There's a lot to be learned from serendipitous mistakes.
Posted by
Unknown
at
1:19 PM
2
comments


These are a couple of multi-exposures that I shot on film. These are from one of the few rolls I've ever shot on my film SLR. I'd used the guidelines in the FP book and really quite liked the results of moving the camera in a significantly different directions. The linear movement in the green/yellow shot is particularly interesting to me.
Posted by
Unknown
at
10:55 PM
2
comments
Something very different to multiple shots of the same scene are those multiple exposures that combine very different images in one. These two images were experiments I did in creating dreamlike images, based on sequences of shots taken around my apartment and just outside the door. These are full images, as shot but with some thought given to the placement prior to shooting. I did these the first time I read the impressionism book, several years ago.
Posted by
Unknown
at
10:45 PM
4
comments
After a bit of searching, I found two ways of doing digital multiple exposures, Option One One is to use the screen mode and underexposed images. The underexposure of each image can be done in camera, or probably better, via RAW adjustment of a correctly exposed image, for the noise reasons mentioned before. It is worth nothing that this is about one image less than suggested in the FP book, for the given stops of underexposure.
Exposures Stops 2 1 3 1.6 4 2 5 2.3 6 2.6 7 2.8 8 3
It is also possible to vary the amount of stops reduction for a given image in the sequence if you want to increase or decrease the emphasis of a particular frame. To do this, the exposure of the other frames needs to be adjusted in the opposite direction. The frames are then combined in screen mode to get to the final image. Option Two The second method doesn't underexpose the images at all. Instead, different levels of opacity are used. The background layer is left at 100%, then layer 1 is 50% opacity, layer 2 33% opacity, layer 3 25% opacity, layer 4 is 20% opacity, and so on. Each layer opacity is [1/(layer # +1)]% The blending mode is normal in this case. An alternative is to blend the images at [1/number of images]% for all the frames, then play with blending modes like screen and lighten to get something that looks about right. Of course you can vary mode and opacity to change the impact of an image as you go along - and the layer order is also up to you and can have a big impact. There are different ways of varying the frames that are shot. The FP book describes two ways - one by just shooting handheld and moving the camera slightly. The second way described is compositing images of different subjects. The sotol cactus shows a third way, of shooting at different DoFs, then combining the resulting images in an impossible to take final image. I'm sure there are other ways to vary each frame to get intriguing results.
Posted by
Unknown
at
8:41 PM
1 comments