I've noticed a tight relationship between when I exercise and when I photograph. There are periods in my life when I've been spending a lot of my free time working out, training for a race or trying to reach some sort of far out goal. In those times I also seem to take a lot more pictures. Even though I might be spending 10 or 20 hours a week exercising, I somehow seem to have more energy and time to fit in photography.
I took 3 months off from exercising and almost completely stopped taking pictures at the same time. I must have had more free time, I read more, I spent more time with my wife, we went out more, but my camera gathered dust.
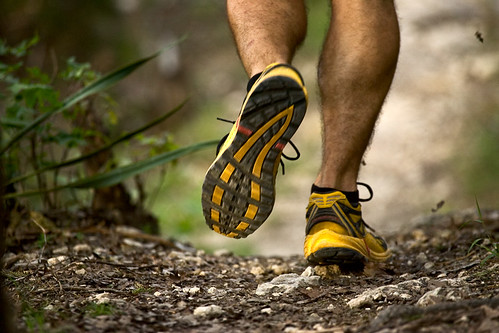
Then again I picked things up a month ago, got back into a rhythm with exercise and suddenly I was taking pictures again too. Weird. I had an hour and a half to think about this earlier this week while on a long, hot and sweaty run and came to some realisations. Partly it is having all that time alone with my thoughts. An hour and a half of time to think, let my mind drift, come up with ideas and aspirations for photographs, work out what's important to me and make the decisions that will let me take some pictures. Running, looking at the light, free associating concepts that might later become pictures or just thinking about photography makes me want to pick up my camera.
When I'm not working out, I don't think I spend enough time listening to the voices in my head to make me go and shoot. That creative energy and ideas gets blocked or ignored in the day to day things that fill up our lives.
The other part of it is that during almost every long work out I do, I find something inspiring that makes me want to share my view of the world with other people. I don't write that well so I try to do that sharing through my photographs. The events that happen just reinforce my desire to that. It could be the horses pacing along side me while riding my bike, or the buzzards sunning their huge wings on the side of the road on a cold, sunny morning. Or it could be like Tuesday night as the sun set and I found myself running along through hundreds of fireflies, flashing on and off and lighting the trail. This is only the third time in my life I've seen fireflies - just magical. I wish I could show you...